|
(Note: Click on the thumbnails to
view the full-size images. To return to the article, use you browser's
'Back' button)
I think perhaps this article should be sub-titled
'How to Do a Client Build Without Any References At All! This project
started out when one of the guys I work with, a former A-3 flight crewman,
approached me about building this kit that his daughter bought him for Christmas
last year. Of course, I was only too happy to oblige. I was
admittedly a little apprehensive about building a 1/72 kit, as the small scale
is not exactly my milieu. However, I put my suspicions aside, and began
work on the little kit. Here's how it went:
Of course, the first area of business was the
cockpit. Hasegawa chose to represent the instrument panel as a series of
decals, and in this scale, I can sort of understand why. I gave the face
of the instrument panel a coat of Gloss Black, waited for it to dry, and applied
the decals. I have to say, with the canopy closed, it doesn't look bad at
all. The rest of the cockpit was completed and painted according to the
kit's instructions, and then the fuselage halves were closed up.
On to the 'glass': The canopy was
well-formed, scratch-free, and seamless, so this cut down considerably on the
amount of time I'd normally spend in this area. I polished the canopy with
Flitz Metal Polish, and then used Bare Metal Foil to mask off the entire canopy,
cutting the frames out after applying the foil. I then airbrushed the
frames first with Flat Black, and then with Light Ghost Gray, and set the whole
thing aside for later.
I did learn something nice about this scale while
working on this kit: there's a hell of a lot less parts! I had the
entire airframe assembled in one night, and as you can see from the in-progress
photos below, not one bit of filler was needed......anywhere!
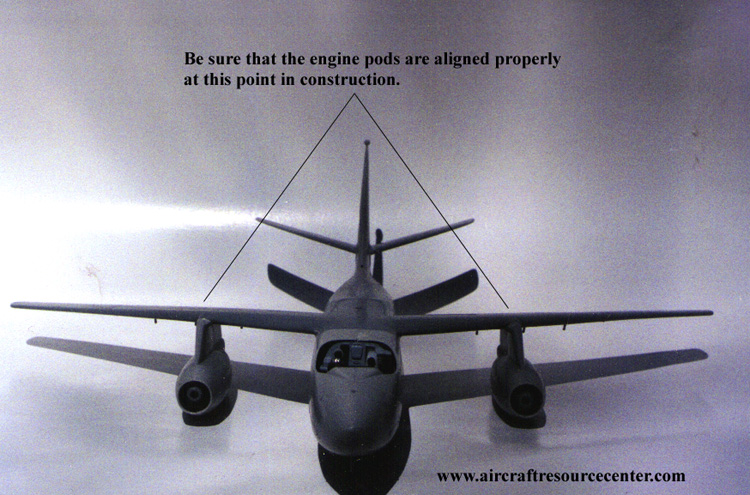
One thing to watch out for during construction is to make sure
that the engine pods are lined up properly when assembling them to the
wings. Actually, if I knew how well the kit was going to fir together, I
would have assembled and painted them separately, and waited until the rest of
the kit was finished before attaching them - it sure would have made
painting them a lot easier.
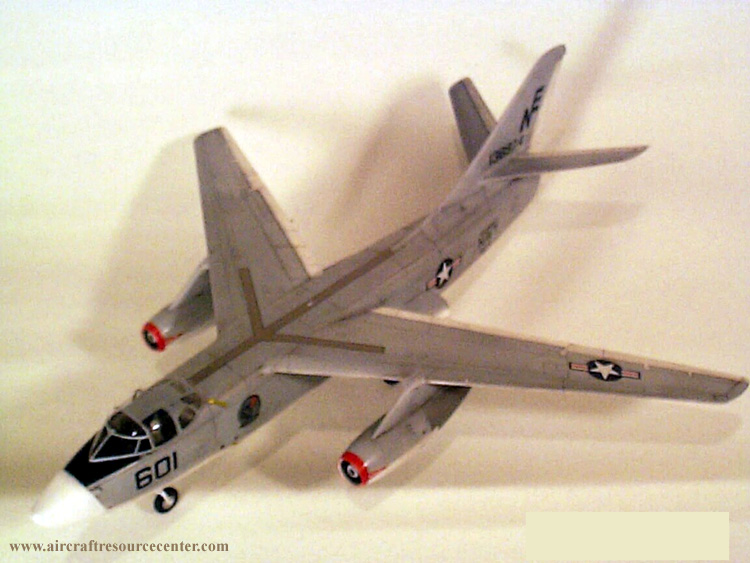
With the kit assembled, I went ahead and painted/weathered all
of the parts for the landing gear, and then it was time for a coat of paint on
the airframe. I used MM Light Ghost Gray for the top color, and Polly
Scale Reefer White for the underside (which was actually painted first).
Out of all the white paints I've tried over the years, I've found that Polly
Scale gives the best coverage, and is actually the least tricky to spray.
This has caused me to re-think my use of enamels in a lot of instances, and I've
been gradually switching over to acrylics for much of my painting.
After about 24 hours, I coated the entire plane in Future,
giving it a light 'tack coat' at first, and then spraying a heavy wet coat over
top. The whole thing was set aside for a few days to set up hard.
The few runs that I encountered were sanded out with #600 wet or dry
paper. Now, it was time to design markings for the bird.
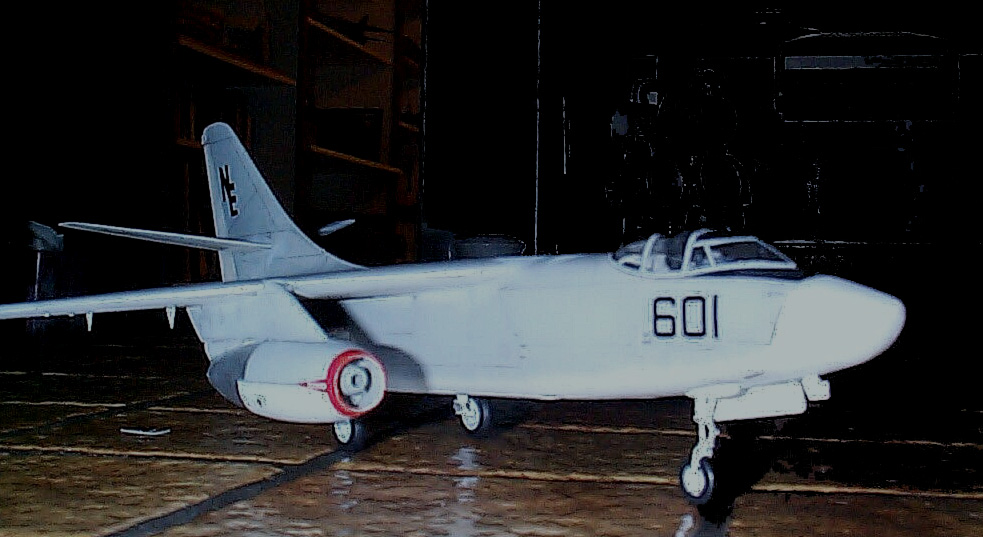
My friend served with VAH-8 'Fireballers' aboard the Midway in
the mid '60s, and unfortunately, there aren't any decals available for this
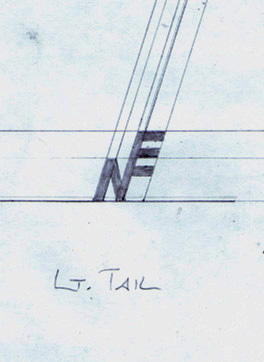
particular bird. With this in mind, I decided to make my own stencils for
the tail code letters, and scavenged some of the other necessary markings from
the spares box. The squadron patch was made by painting over one of the
squadron badges included in the kit, and then hand-painting the design onto the
decal.
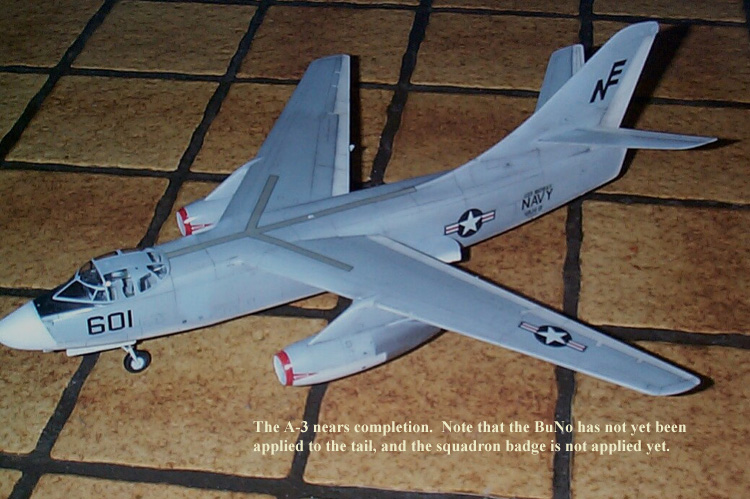
After weathering the entire plane with Winsor &Newton
Artist's Oils, I applied all of the decals, and also very carefully used the
stencils that I made to spray the tail codes on the plane. I actually
surprised myself with the results, as the stencils came out pretty well.
Also, the Hasegawa decals really gave me a pleasant surprise, going down without
a hitch, and showing no signs of silvering anywhere. All that was required
was a little Micro-Set to get them to snuggle down, and when they were dry,
another light coat of Future was applied.
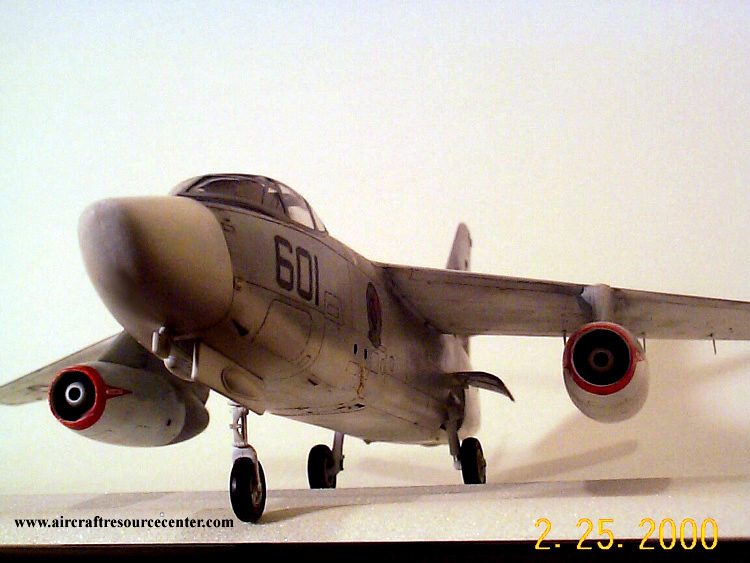
Final weathering was achieved with a very light application of
pastels, and then the entire kit was sprayed with Testors Dullcoat. All in
all, it was a very satisfying build, and my friend was very happy with the way
it came out - in his words, 'it's just the way I remember it'. I'd highly
recommend this kit, as it's virtually trouble free, and the build itself was
very simple with a very nice finished product.
Steve
|
|