|
Continuing your
theme of building for others, I thought this recent build might fit in nicely...
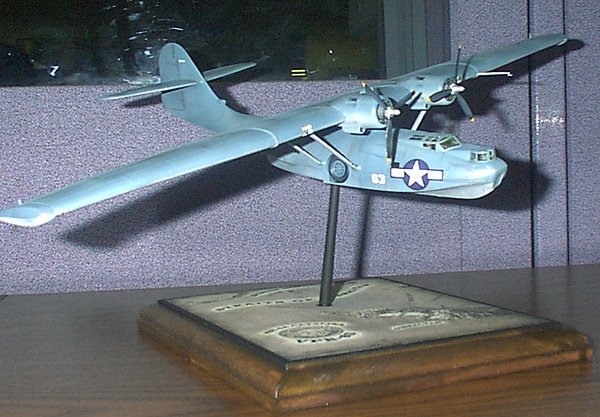
A co-worker asked me to build a model of the PBY-5 her father-in-law flew in
WWII. He flew with VPB-63 on sub-hunting missions around the Gibraltar Straits.
My initial research indicated that this squadron flew MAD equipped 'cats painted
in the N. Atlantic scheme of White and Dark Grey. After her family inquired
subtly (it was to be a surprise) to ask
for details, he told them he flew in a blue PBY-5A. I guessed that he flew with
them earlier in the war, so I went with the blue-grey over Lt. Grey and kept the
a/c clean. The kit unfortunately did not come with depth charges so I left the
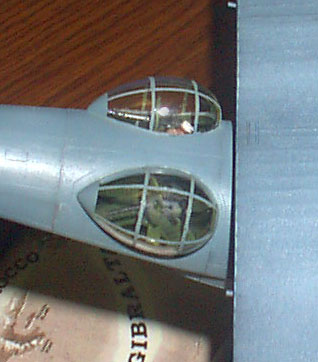
underwing armament off. I chose to detail the waist positions and mount it on a
plaque with a Photoshop enhanced
map I generated from different art found online and elsewhere.
THE KIT:
The Academy kit is nice and fairly well detailed. A super detailer could go nuts
with it. As with all kits, there are a few areas that need to be corrected. The
cockpit is minimal, and the airplane controls look clunky. You can hardly see
inside, so I guess it's o.k. I chopped up ground crew from Hasegawa's Modern
Ground crew set to provide pilots and a waist gunner. I added the whitecap to
the gunner's head with putty.
The guns were detailed with ammo boxes, scrap plastic and tiny floral wire. I
also added the life raft in the back of the compartment made from glue soaked
tissue and made a chemical toilet from a chunk of sprue. The walkpath through
the compartment must be made to attach straight, not at an angle as the
instructions show.
I also added a navigator's table behind the cockpit with a map on top although,
like many of the details it's hard to see. The overhead throttles in the cockpit
are also there...really, I promise!
The fit is good, with the main clean-up being along the long wing. I chose to
build and paint the fuselage and wing separately, this way I wouldn't encounter
overspray problems.
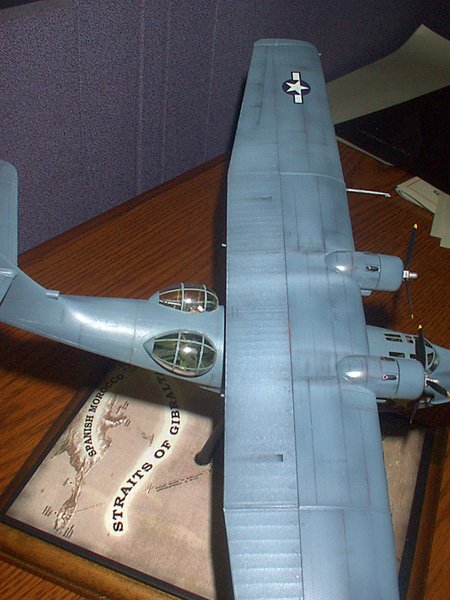
The kit is molded in black plastic, and so I built-up color slowly towards the
panel lines to add depth to the color. As you can see with the wing top, it
really breaks up a monochromatic scheme. I used Polly-S acrylic paints, starting
with a base color and gradually adding more white to each coat. After it was
finished, I liked to finish so well, I
elected to pass on a wash to bring out the detail. I weathered with pastels, and
light dustings of Lt. grey paint thinned to tone back the decals and simulate
the exhaust stains. Pastels were also used to enhance the hinge lines of control
surfaces and accent panel lines.
I enjoyed building it, and hope that the gentleman I built it for enjoys it as
well.
Kyle
|
|