|
I
have always thought that Monogram has done an excellent job in balancing a high
level of detail with a reasonable cost. Their F-18 is no exception. While maybe
not as good as the Hasegawa offering, you can buy 4 Monogram kits for every one
Hasegawa, and when care is taken on the Monogram kit, it’s hard to tell the
difference between the two without getting up close. I did want to improve the
kit, however, and the challenge I gave myself was to see how detailed I could
make it.
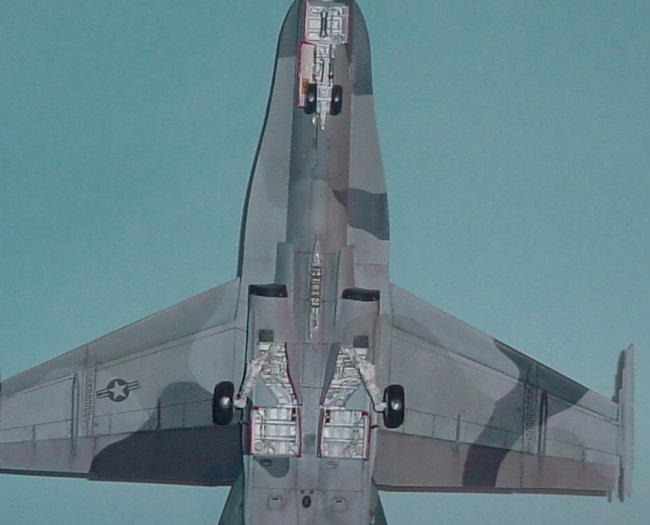
The
plastic in the R/M kit is actually for a C, so I had to do some surgery to make
it an A. I used my the article I had written in FSM as my guide, but added two
things to the conversion. I filled the two vents that are located on top of the
fuselage spine and corrected the shape of the Sparrow bays on the side of the
intakes.
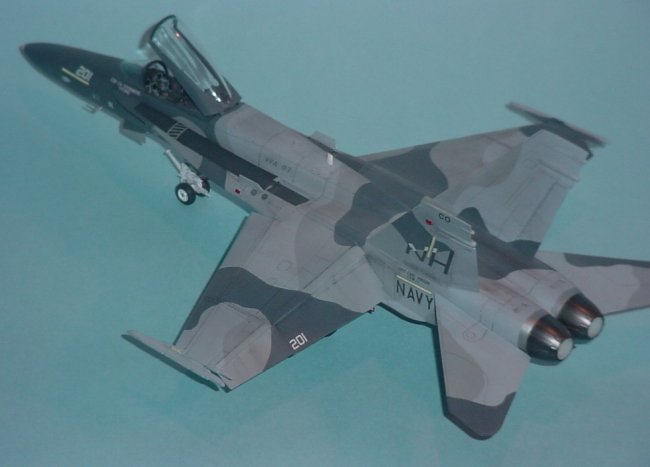
I
rescribed the panel lines using Dymo label tape and a Trimaster scribing tool. I
also used a drill bit chucked in a pin vise to drill the access screws. This
made a world of difference in the appearance of the kit. Next, I separated the
slats and flaps from the wings and replaced them with a resin set from Cutting
Edge. I also cut away the rudders and kicked them in on each tail.
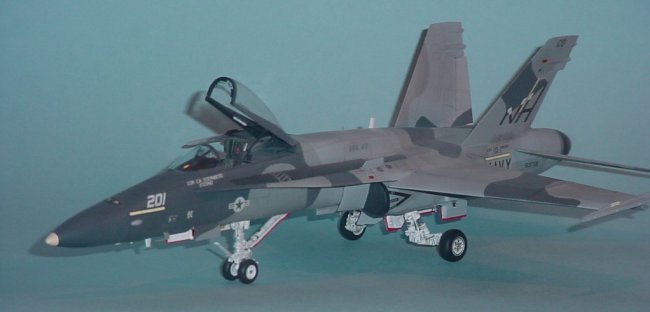
Black Box’s F-18 cockpit fit flawlessly into the
Monogram tub. While the kit cockpit is very well done, the BB set is just that
much better. The final detail that really made the difference was the extra set
of metal landing gear from a parted-out Hasegawa F-18. If there’s one thing in
the Hasegawa kit that’s worth the high price, it’s the landing gear. It’s
absolutely gorgeous! I was amazed that the gear fit into the Monogram wheel bays
with virtually no modification.
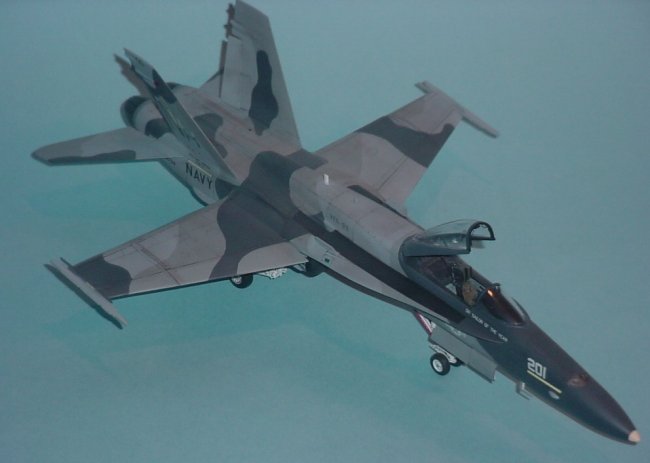
This
originally started out as an NSAWC bird, but when Twobobs released their VFA-97
decal sheet, the NSAWC markings got stripped off and fleet squadron markings
replaced them. I only wish they would allow the whole squadron to be painted up
in the 3-tone gray.
Darren
|